
Renovating our 200-year-old house, one decision at a time

Upstairs Update
We promised we would be back with an update on our guest bathroom and here we are! We are excited because the bathroom is actually almost completely done! In this renovation process, while the end result is to make this house as beautiful as we assume it once was, there is a lottttt of making things messier and less beautiful first before we can restore or renovate them. It can be pretty discouraging at times, but then a room or a project gets completed and it provides us with enough motivation to dive headfirst into our next project. Thank goodness because we still have a lot of work left to do.
If you have an amazing ability to remember useless details, you might remember that we had to change up the second story floorplan completely in order to make room for two new bathrooms. The second floor of the house had very little original detail. In fact, we had a friend who is an architectural historian come by a while ago and he believes the upstairs wasn’t actually original to the house at all. He believes the house started out as two rooms (now the living room and dining room) and everything else was added on in stages over many years. In addition to the upstairs being a later addition to the house, the rooms have been pretty chopped up over the years, so we don’t feel too guilty about changing them up further to better suit the needs of a 21st-century family (in our opinion.)
The “Original” Floorplan and The New Floorplan

On the left is the floorplan as it was when we moved in. On the right is the floorplan as we expect it to be when we are done remodeling. This has changed quite a few times, so we assume there will be some more changes as we move forward, but we are feeling pretty good about the current plan. These are a few of the changes we are making:
~The dark blue area is the hallway and the only change in that space is that little chunk of area that was in the top left corner is now going to be absorbed into the new/larger bedroom. (I’m not sure why the stairs in the “original” floorplan look like stairs and the ones in the “new” floorplan don’t, but I assure you that they are indeed still stairs.)
~The purple areas are bathrooms. We recently made the decision to move the laundry room to the second floor which wasn’t our original plan, but we think will work much better than keeping it downstairs where it currently is. This means that the original bathroom (with the mini window) will be turned into a laundry room which will also include some storage space.
~The teal areas are bedrooms and the yellow areas are closets. As you can see, we went from four bedrooms to three, but are changing the size of the top left bedroom, as well as the placement of the closet in that room.
~The square bedroom in the original floorplan was demoed (check out this post if you missed it) and that is the area, along with the hall closets and old bedroom closet, that will now be the bathrooms.
Let’s See Some of that Progress!
The smaller of the two bathrooms in the second floorplan is the guest bathroom that we have been working on. Check out the progress below!

Here is a messy view of what it looked like once our son’s room (the square room in the “original” floor plan) and the hall closets were demoed. The highlighted area is the part that is becoming the guest bathroom.

This was the view looking from the stairs/hallway into the demoed room. We are pretty into those floors and plan on keeping the wood floors in the master bathroom.

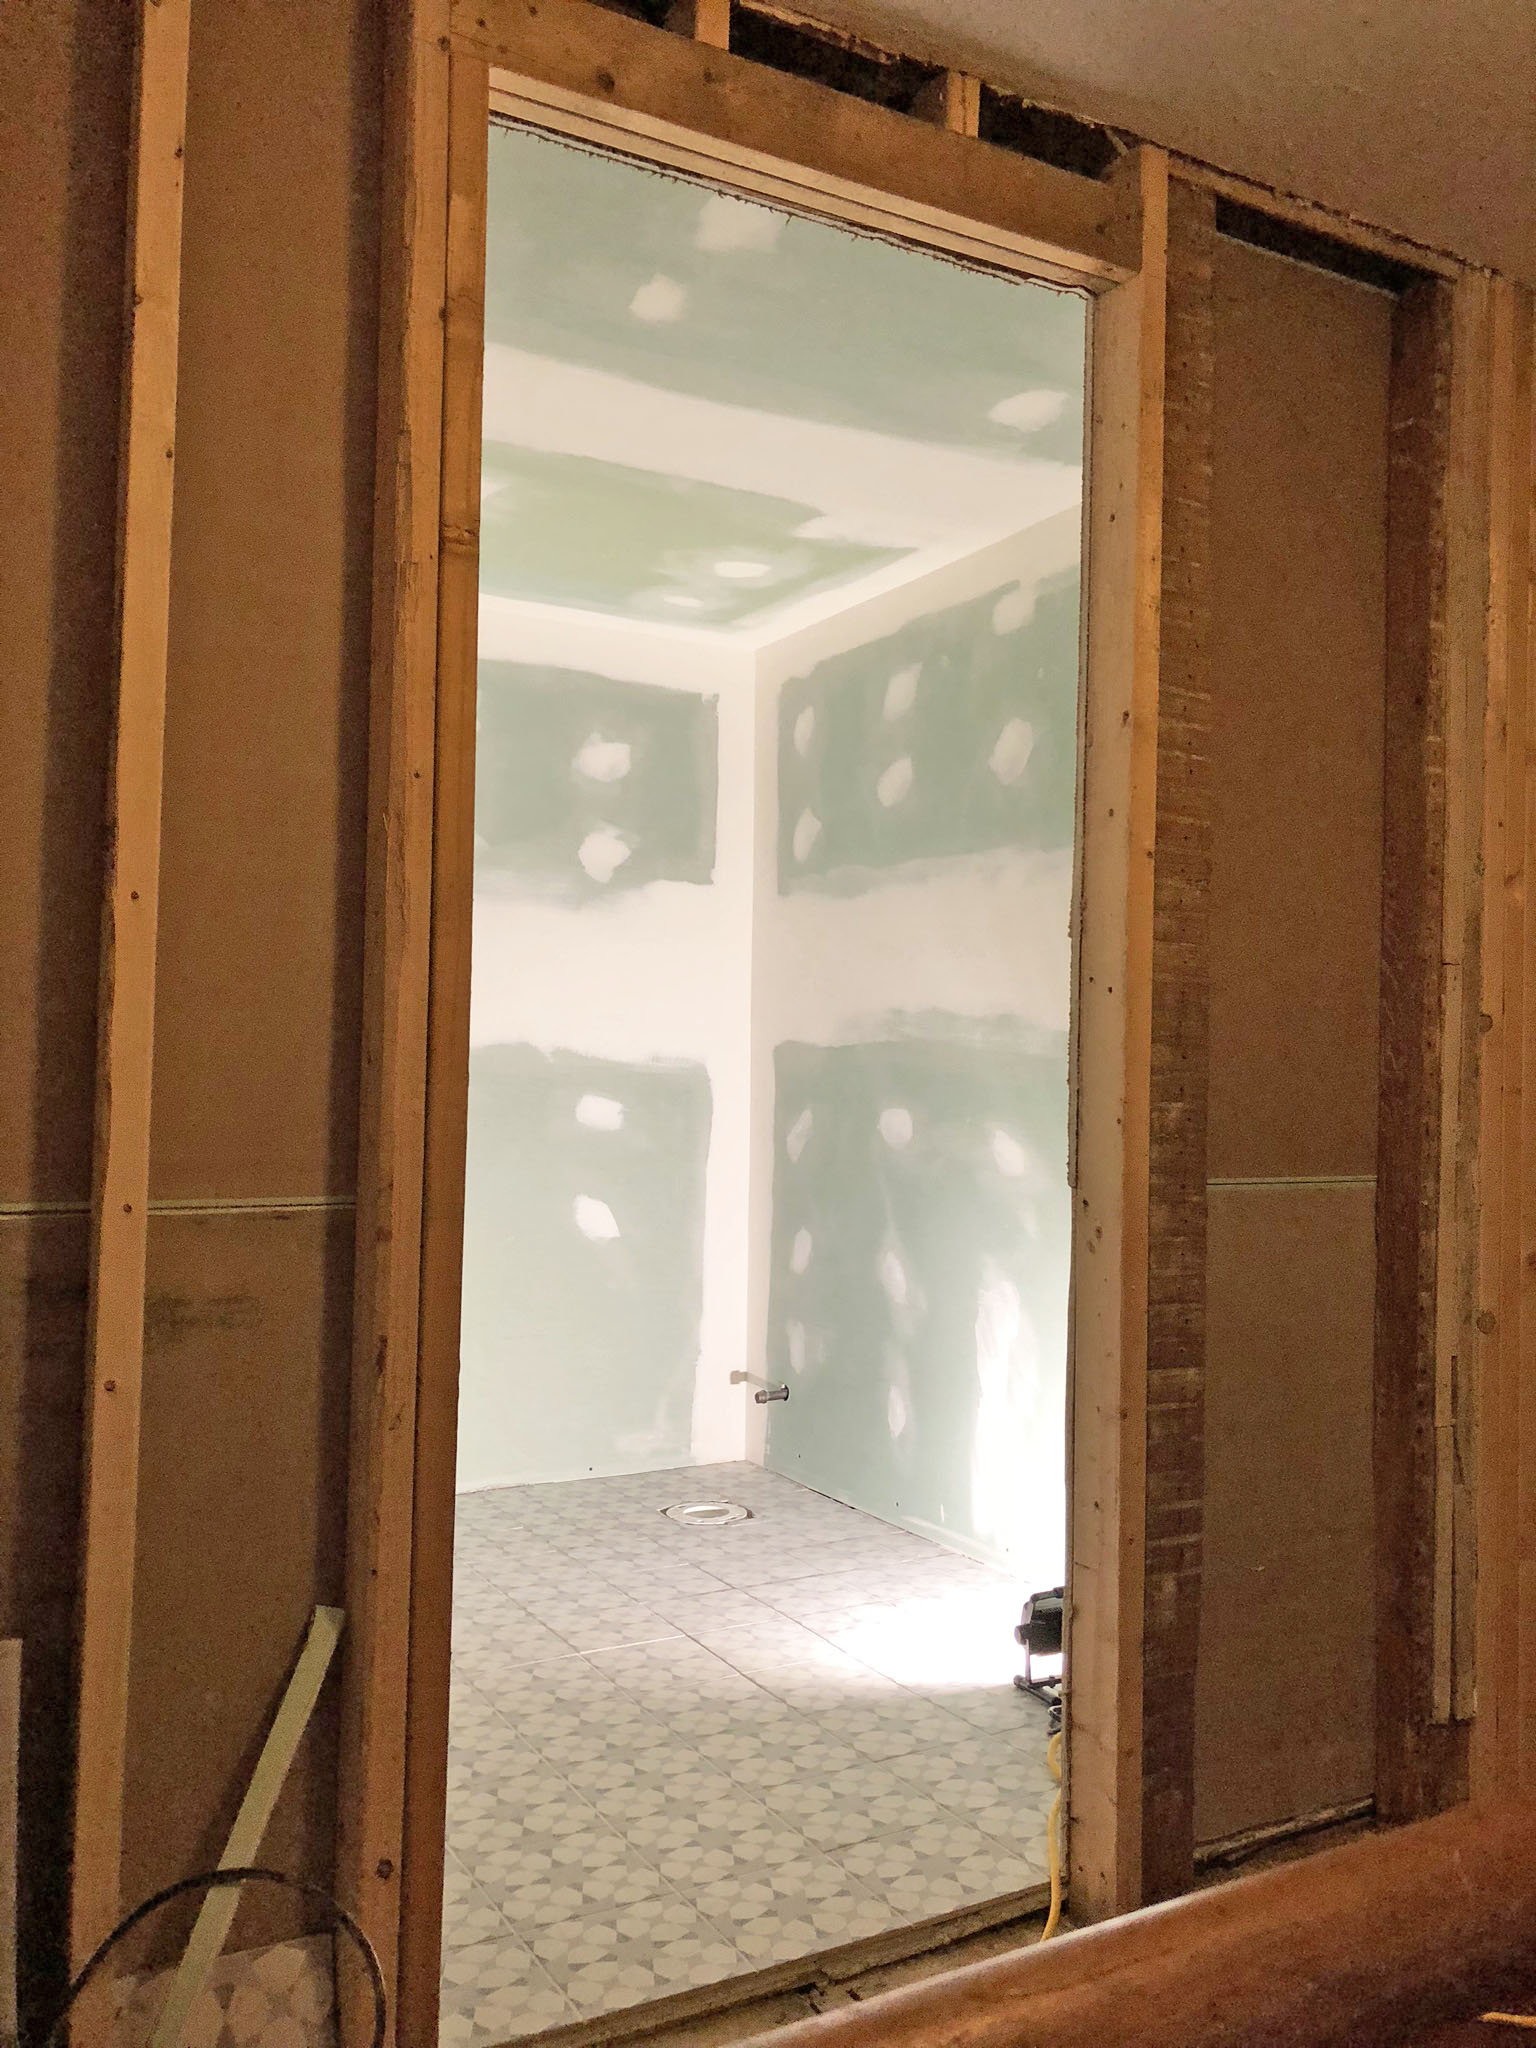
This is a similar view after the bathroom walls went up and the hallway wall came down.

Another view from the hall, this time looking from our bedroom doorway. Isn’t the drywall a really pretty color?

Once the walls were up, the tub came in and a platform for us to work on/stage for our son to dance on went on top of it. We had a nice system for tiling the shower and it went really smoothly. As Ronan set each tile, I cut them to size using one of the most fun tools I have ever had the privilege to work with. I really enjoyed that job! As you can see from the little pile on the right, I destroyed more than a couple, but it was all part of the learning process.

Really, all hands were on deck for the tiling process.

The subway tiles looked beautiful, but these floor tiles….they were in a league of their own. We found them at Lowe’s and knew right away they would add a little extra pizzazz to the otherwise traditional room. These dimpled little hands did a pretty nice job of lying them straight.

This photo makes me laugh because Ronan forgot to bring tile spacers home the night we worked on this, but we improvised with some coasters that were left over from our brewery wedding.

This floor sparks A LOT of joy for me : )

It was at about this point that I couldn’t wait any longer to take a shower in this space instead of the less than glamorous shower that we had been showering in since we moved in. I was even more excited to give our son a bath in this fresh and clean spot!

Here is the updated view from our hallway once the walls into the hall went up.

We knew that we wanted to repurpose a piece of furniture for the vanity instead of buying something new. We checked out a few thrift stores and decided this piece from the Salvation Army was our favorite. Ronan had to change the depth of some of the drawers a bit so that the sink and plumbing could fit inside, but luckily they are all still functional and provide a little extra space for bathroom storage.
For additional storage, we also added shelving alongside the shower, but it isn’t quite finished yet.
That is all we are going to share for today, but our next post will show you the finished project and we promise we won’t make you wait too long! Thanks for following along : )
Written by ahomedecided
You may also like


-
Rahila Beaudoin says:
Love the idea of repurposing a piece of furniture for the vanity. Also, I love the spark tiles too! 💜
-
ahomedecided says:
Thank you, Rahila! We ended up finding a brand new drop-in sink at the Habitat for Humanity Restore as well and we love the way they turned out when we put them together. I’m excited for you to see the finished product!
-

2 Comments